The theme over at Le Challenge this month is 'reading'. I decided to make a bookmark and I wanted something that would feel sturdy but still look cute! Here's how I made my laminated fabric bookmark...
Supplies:
505 Craft Adhesive
(2) 2" x 7" pieces of fabric
1.75" x 6.5" piece of Aida or thin cardboard
small fabric scraps
Sewline glue pen
paper to cover your work surface
a laminating machine and laminating pouch (optional)
If you would like to create a frayed edge, use a woven fabric and gently pull the threads from the bottom. Repeat on the other piece of fabric and put them together to make sure you have the same amount of fraying.
Spray one side of Aida lightly with the adhesive and stick to the wrong side of one of the pieces of fabric. Spray again and place the other fabric piece on top, right side facing up.
Now for the fun bit, decorate your bookmark using fabric scraps!
Originally I tried to use up some teeny bits of Liberty and make a confetti pattern but it just didn't work as I envisioned.
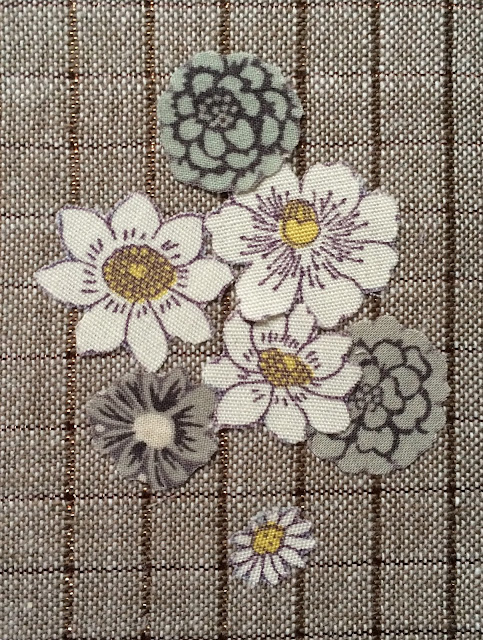
I opted instead to fussy cut some Liberty print flowers and create a collage...
Which was much prettier! I used embroidery scissors, layered the flowers and stuck them down with the glue pen.
At this point you could quilt over your design, just a few straight stitches will hold it in place, then top stitch around the edges (and above the fraying). You could also zig zag the edges.
Another simple way to finish, that will give structure and make your bookmark more hard wearing is to laminate it. I do like a glossy finish!
Since putting one small bookmark through the laminator felt wasteful I also made myself a little inspiration card to keep in my planner. I used a Project Life card, some washi and stickers.
A little tip - if you are laminating and want rounded corners, use nail clippers to take the points off the corners!
Check out the other finishes at Le Challenge and link up your 'reading' projects for a chance to win great prizes :)


3 comments
Post a Comment
Great bookmark. I am so glad I don't have a laminator - I would spend hours laminating anything and everything in sight!!
good idea to laminate. I occasionally make liberty bookmarks and the edges are always a problem
This is such a pretty book mark with it's lovely liberty flowers. You are so clever to think of laminating it.